YGOOW on GrapheneOS
GrapheneOS is a hardened version of Android for Pixel phones, with no Google apps unless you add them. YGOOW needs none: no Google Play services, no Firebase. This guide walks you from buying the phone to a checked install. It adds what is specific to YGOOW to the official GrapheneOS instructions; where the two differ, grapheneos.org wins. We are not part of the GrapheneOS project.
1. The phone: a Pixel without a carrier lock
Which Pixel. GrapheneOS recommends buying a Pixel 8 or newer: the 8, 8 Pro and 8a, the 9, 9 Pro, 9 Pro XL, 9 Pro Fold and 9a, or any Pixel 10. These get at least seven years of updates from launch (a Pixel 8a until May 2031, a 9a until April 2032). Older models are still supported but closer to their end; don’t buy one new for this. We test YGOOW on a Pixel 8a running GrapheneOS.
Why the carrier matters. Some Pixels sold through mobile carriers, mostly in the US, come with bootloader unlocking switched off by the carrier. Such a phone can’t take GrapheneOS, and the carrier may never switch it back on. Buy the unlocked version: from the Google Store, or from a shop that sells the unlocked model, not a carrier bundle.
How to check before you pay (in a shop, or with a second-hand phone):
- Connect the phone to the internet. Wi-Fi is enough; carrier-capable models ask online whether unlocking is allowed.
- Open Settings → About phone and tap Build number seven times. This switches on the developer options.
- Open Settings → System → Developer options and find OEM unlocking.
- If the switch can be turned on, the bootloader can be unlocked. If it stays greyed out while the phone is online, it is locked by a carrier: don’t buy it for GrapheneOS.
- Turning the switch on doesn’t unlock anything yet. If you were only checking, turn it off again.
Second-hand phones
Check the switch yourself before you pay. A phone that is greyed out “for now” usually stays that way, and a seller’s word won’t change the carrier’s setting.
2. Before you start
What you need:
- The phone, charged, with its stock Android updated. Updating first is GrapheneOS’s own advice: the newest firmware makes the first connection smoother.
- A second device to run the installer: a computer with Windows 10 or 11, macOS, Linux or ChromeOS, or another Android phone or tablet (Android 14 or newer with Play Protect certification, or GrapheneOS). It needs at least 2 GB of free memory and 32 GB of free storage. Not a virtual machine.
- A browser that can talk to USB: Chrome, Chromium, Edge or Brave (with Shields off for the installer page). Firefox and Tor Browser can’t do this. Don’t use a private or incognito window, and on Linux avoid Flatpak and Snap browsers.
- A good USB-C cable, ideally the one from the box, plugged straight into the computer: no hub, no front-panel port. GrapheneOS names broken cables and hubs as the most common cause of failed installs.
- About an hour. Most of it is waiting.
What this costs you
- Everything on the phone is wiped, twice: once when you unlock the bootloader and again when you lock it. Copy what you need first; nothing survives.
- Use only the official installer at grapheneos.org/install/web, never a copy. We don’t host GrapheneOS files on our site on purpose: a system image served by us would be one more server you’d have to trust, us included.
- Don’t stop halfway. A phone left with an unlocked bootloader is easier to tamper with than both the stock phone and a finished install. The last step, locking the bootloader, is what switches full verified boot back on.
- A few apps refuse to run outside Google-certified Android, notably Google Wallet’s tap-to-pay and some banking apps. Check the ones you can’t do without before you switch.
3. Install GrapheneOS with the official web installer
Open grapheneos.org/install/web on the second device and keep it open next to this page. The button names below are the ones on that page.
- Switch on OEM unlocking on the phone, as in section 1 (with the phone online).
- Start the phone in the bootloader. Turn it off, then hold volume down while you turn it on. You are there when you see a red warning triangle and Fastboot Mode. Don’t press the power button to choose “Start”: the installer needs the phone to stay here.
- Connect the phone to the second device and press Unlock bootloader on the installer page. Pick the device in the browser’s USB dialog, then confirm on the phone: volume keys to select, power to confirm. This wipes the phone.
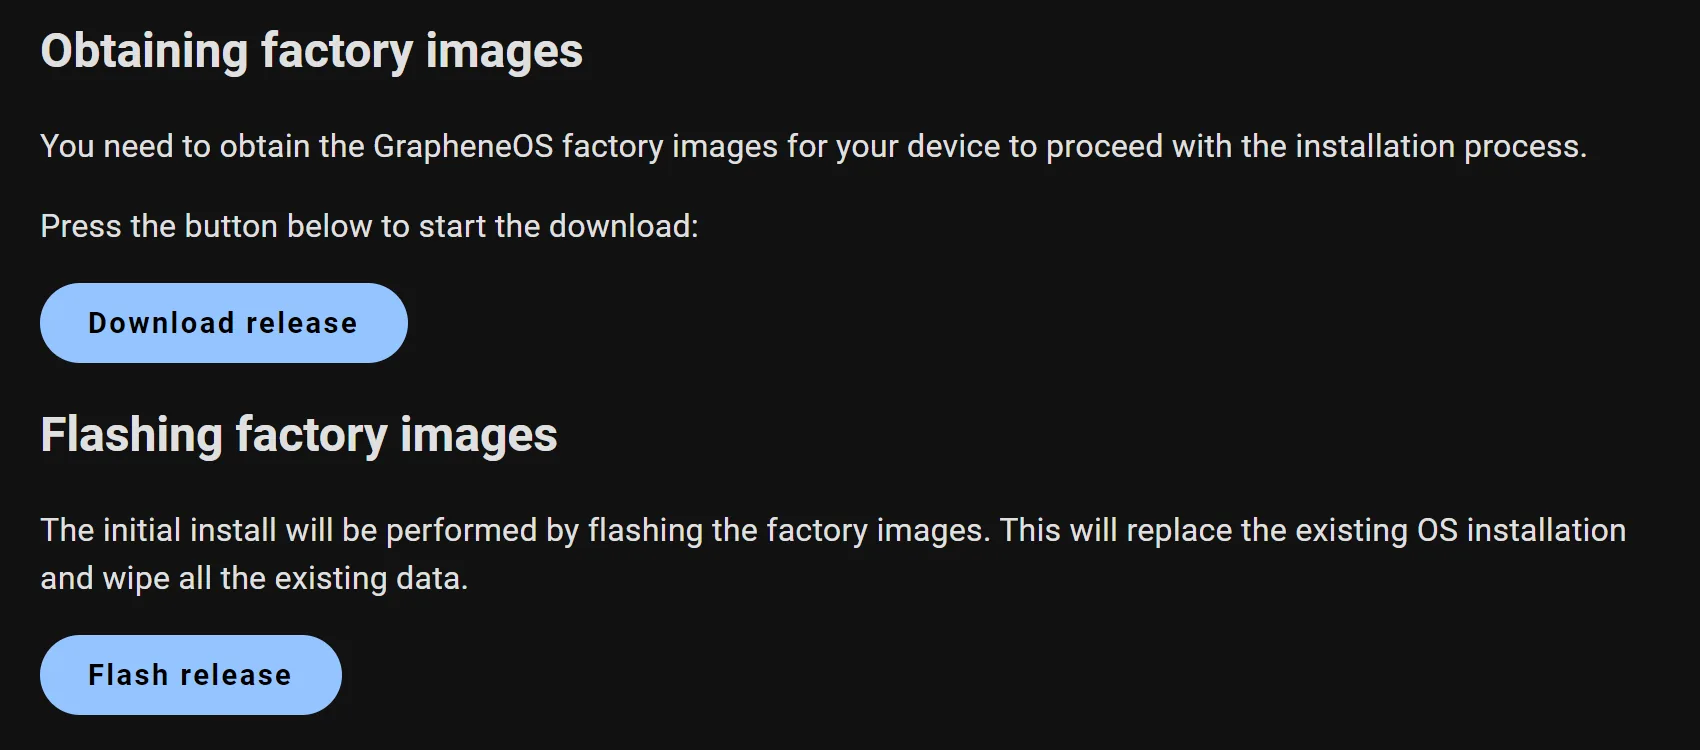
- Press Download release and wait until the download finishes.
- Press Flash release. Don’t touch the phone while it runs: it restarts into the bootloader by itself in between. If the connection drops, the page offers Reconnect device.
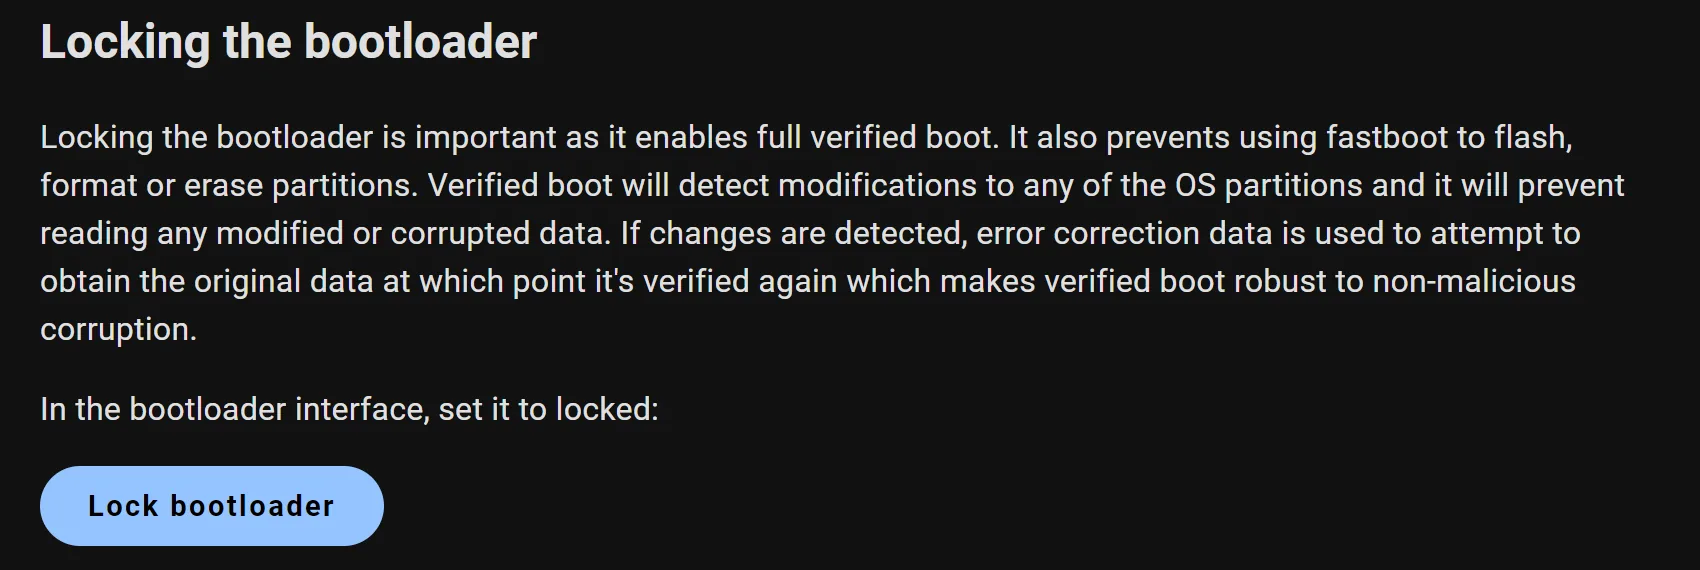
- Press Lock bootloader and confirm on the phone. This wipes it once more, and it is the step that turns on full verified boot.
- Start the phone. On the last screen of the first setup, keep the option that switches OEM unlocking off. It is on by default; leave it that way.

4. Check what you installed
The boot key, at every start. A Pixel with GrapheneOS shows a yellow notice each time it starts: the phone is loading a different operating system. Yellow is expected. It means “signed with a key that isn’t Google’s“, and the notice shows an ID that tells you whose. On a Pixel 6 or newer that ID is the full SHA-256 of the key. Compare all 64 characters with the value for your model in the official table on the install page. For a Pixel 8a it is:
096b8bd6d44527a24ac1564b308839f67e78202185cbff9cfdcb10e63250bc5e
An orange notice means the bootloader is still unlocked: go back to section 3 and press Lock bootloader (point 6).
A stronger check: Auditor. Auditor comes with GrapheneOS and checks the hardware, firmware and operating system through the phone’s hardware attestation. A local check needs a second Android phone running Auditor: the two pair by scanning QR codes, and the result shows on the second phone, not on the one being checked. Its optional remote checks through attestation.app need only a browser on another device. The walk-through is at attestation.app.
Updates. GrapheneOS updates itself over the air, in the background. You’ll find it under Settings → System → System update.
5. A YubiKey for YGOOW
A YubiKey is optional. Switch on YubiKey second factor in YGOOW’s settings and unlocking needs your secret and the key, held to the back of the phone (NFC) or plugged into the USB-C port. YGOOW uses the key’s challenge-response in slot 2 (HMAC-SHA1): the answer is computed on the key, offline, and the secret inside it never leaves the key.
Which one to buy:
- Best fit for a Pixel: YubiKey 5C NFC. It works over NFC and in the USB-C port.
- Also works: YubiKey 5 NFC (USB-A, so on the phone over NFC), YubiKey 5C and 5Ci (USB-C, no NFC).
- Won’t work: the Security Key series (Security Key NFC, Security Key C NFC) and the YubiKey Bio. They have no OTP application, so there is no slot for challenge-response.
- Where: from Yubico or a reseller it lists, in a sealed package. A key that has been in someone else’s hands is a key you can’t vouch for.
Set up slot 2 once, on a computer, with Yubico’s command-line tool ykman (YubiKey Manager):
- Plug the key in and run
ykman otp info. If slot 2 already holds something you use, stop here: the next command overwrites it. - Run
ykman otp chalresp --generate 2. This writes a new random secret into slot 2. - Leave out
--touchif the key should also work over NFC. A slot that demands a touch answers only when plugged in: the key blinks and waits for your finger.
In YGOOW: Settings → YubiKey second factor, then hold the key to the back of the phone, or plug it in, when the app asks.
GrapheneOS and the USB-C port. GrapheneOS can limit what the port does. The default, “charging-only when locked”, is fine: you use the key while the phone itself is unlocked. If you’ve set the port to charging-only or off, a plugged-in key won’t be seen. Use NFC, or change it under Settings → Security → Exploit protection → USB-C port.
Android asks every time. Each time you plug the key in, Android asks whether YGOOW may use it. Allow it; the permission lasts until you pull the key out.
Pull the key out after use. Left in the port, one touch makes the key type its factory one-time code wherever the cursor is, even in another app, and that code tells which key it is. While YGOOW is open, it holds the key’s keyboard back; other apps don’t.
Lose the key, lose the way in
With the second factor on, your secret alone won’t open YGOOW. There is no recovery and no override on our side. Keep a backup of your profile that opens without this key: sealed with a secret of its own, it opens on any phone.
A YubiKey or a decoy profile, not both
The YubiKey factor and the decoy profile don’t combine: with the key switched on, there is no decoy profile to show under pressure. Pick the one that fits your situation.
6. Install YGOOW and check its certificate
Not public yet
YGOOW is in alpha and there is no public download yet. What works today and what is still missing is on the alpha page.
When it is released, you install it in one of three ways:
- The APK from our site, over ygoow.com or our onion address. Open the file and allow your browser or file manager to install apps once. From then on, Android accepts an update only if it is signed with the same key as the app you have.
- Obtainium. Add our download page as a source; Obtainium checks for new versions and installs them for you. Android still checks every update against the same key.
- Accrescent, a store built for privacy and security. As of November 2026 it takes apps only from developers it has already admitted and isn’t admitting new ones; we’ll apply as soon as it does.
YGOOW won’t be on Google Play. Every release is signed with our own key, which no store ever holds, and Play would want that key.
Check whose key signed it, before the first install:
- On the phone: the open-source app AppVerifier shows the SHA-256 fingerprint of an installed app’s signing certificate, or of an APK file you open in it before installing.
- On a computer:
apksigner verify --print-certs ygoow.apk(apksigner, part of Android’s SDK build tools) prints it as “certificate SHA-256 digest”. - Compare all 64 characters with the fingerprint we publish on the security page and in the signed warrant canary, from the first public release on. If one character differs, don’t install it, and tell us.
When something goes wrong
- The installer page doesn’t see the phone. Use Chrome, Chromium, Edge or Brave in a normal window, the cable from the box and a port directly on the computer. On Linux, the official page describes a workaround for a known fwupd bug.
- OEM unlocking is greyed out. The phone hasn’t been online since the last reset, or it is carrier-locked (section 1).
- An orange notice at every start. The bootloader is still unlocked: run Lock bootloader (section 3, point 6).
- The YubiKey isn’t seen in the port. Check the USB-C port setting, allow Android’s question, and make sure slot 2 is set up (
ykman otp info). - Already using YGOOW on this phone? Export a backup file first and keep it off the phone; after the install, restore it in YGOOW.
- Going back to stock Android. The official page has a section on replacing GrapheneOS with the stock OS. Follow it to the end, including locking the bootloader again.
GrapheneOS is a project of the GrapheneOS Foundation; YubiKey is a trademark of Yubico; Pixel and Android are trademarks of Google. We are not affiliated with any of them.